Platinum and palladium printing puts the image into the paper itself as particles of noble metal, with no gelatin and no silver. The result is a matte print with the longest tonal scale of any photographic process and a permanence measured in centuries. It is also slow, expensive, and unforgiving of a poor negative, which is why it has always been a fine-art process rather than a commercial one. This page explains how the chemistry works, what each bottle on the bench does, how to make a print from coating to clearing, and how to control tone, contrast and cost.
What is platinum-palladium printing?
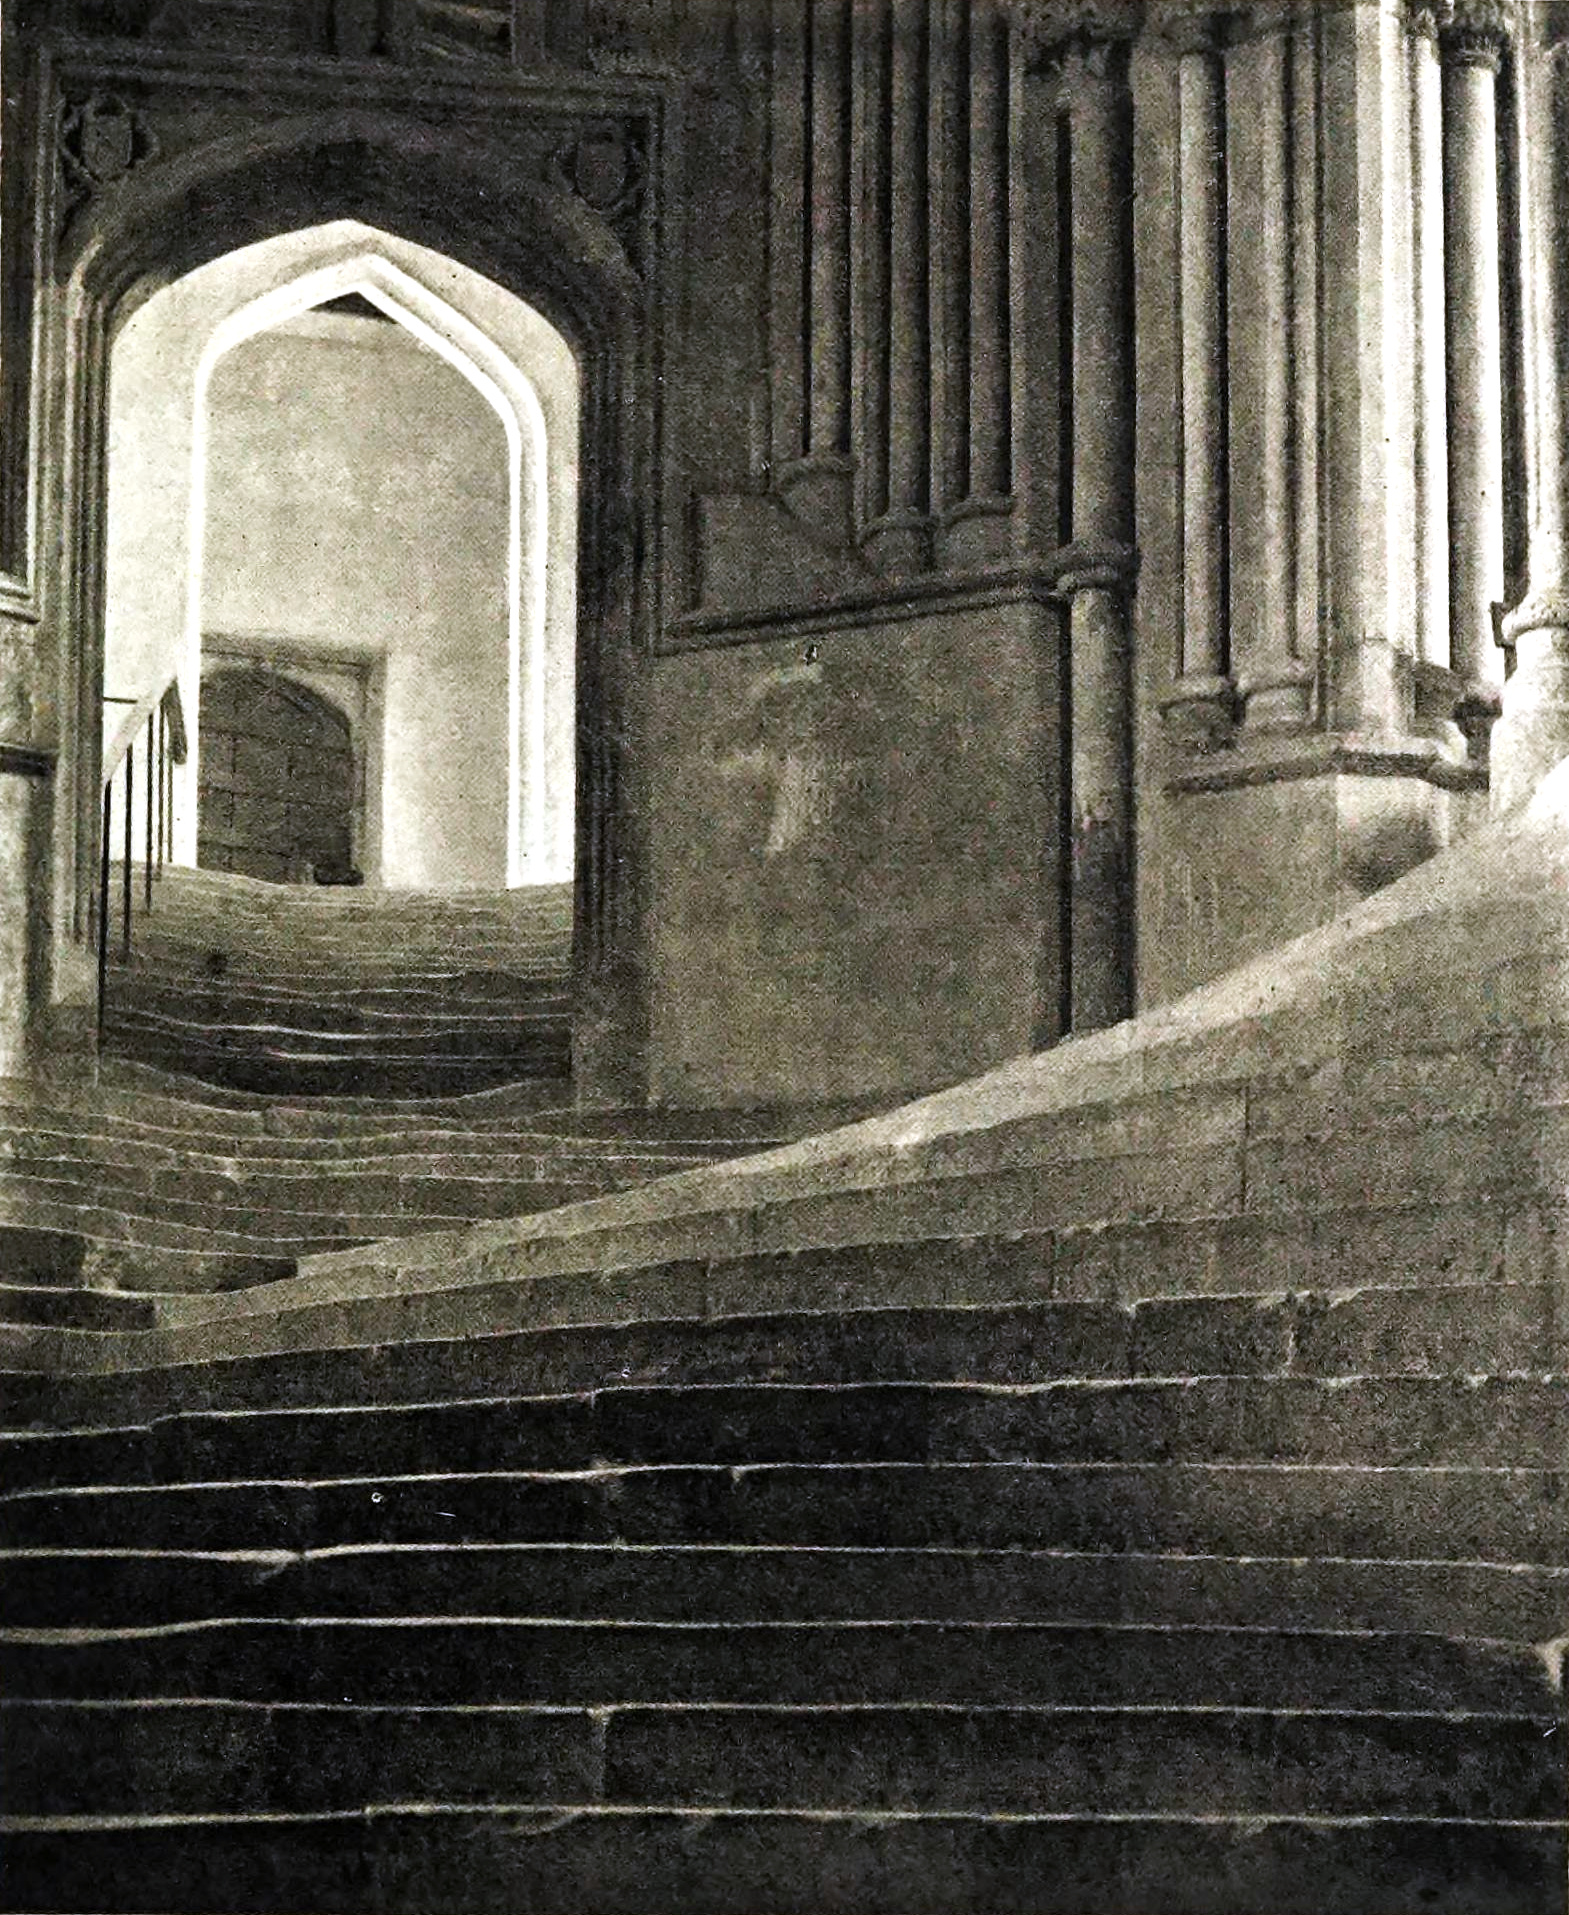
A platinum print is a contact print. A sheet of cotton paper is hand-coated with a solution of an iron salt and a platinum or palladium salt, dried, and exposed to ultraviolet light through a negative the size of the finished print. Where light reaches the paper, the iron salt is reduced; when the print goes into the developer, that reduced iron in turn reduces the noble-metal salt to fine particles of metal, which stay lodged in the paper fibres. A clearing bath removes the iron that did not react, and the print is washed and dried. Nothing is left on the paper but cellulose and metal.
William Willis patented the process in 1873 and sold ready-coated Platinotype paper from 1879; by 1900 platinum was the medium of choice for serious photographers, and the pictorialists built their reputations on it.[1] The First World War made platinum a strategic metal, Willis's company substituted palladium in 1916, and by the 1930s both papers had disappeared from the market. The process came back in the 1970s as a hand-coated craft, and the version practised today, mixing platinum and palladium in one sensitizer, is the one this page describes.[2]
Why it looks the way it does
Three things make a platinum print look different from a silver print, and all three follow from the chemistry.
The image is in the paper, not on it. A silver gelatin print carries its image in a gelatin layer on top of a baryta coating, which gives it gloss and a hard, defined black. Platinum has no layer; the metal sits among the fibres, so the surface is the surface of the paper, and blacks are deep but never shiny.
The tonal scale is long. Platinum and palladium salts respond to exposure almost linearly over a wide range, and the print-out effect during exposure adds to it. A negative with a density range of 1.6 or more, which would print as chalk and soot on silver paper, prints with open shadows and held highlights on platinum. The reverse is also true: a normal silver-paper negative prints flat.
Tone is set by the metal. Pure platinum gives a cool, neutral black. Pure palladium gives a warm brown-black. Mixtures fall between, and most printers settle on a house ratio. Developer choice and temperature move the tone a little further; humidity in the paper at exposure moves it further still.
The chemistry, bottle by bottle
The traditional developing-out process uses three sensitizer solutions, mixed by the drop just before coating, and two more baths after exposure.[2]
| Solution | Contents | Job |
|---|---|---|
| 1 | Ferric oxalate, about 27 % in water with a little oxalic acid | The light-sensitive part. UV reduces iron(III) to iron(II). |
| 2 | Solution 1 plus potassium chlorate, about 0.3 % | Same, with a contrast agent; more of Solution 2 in the mix means a shorter scale. |
| 3 | Potassium chloroplatinite (20 %) or sodium chloropalladite (15 to 20 %) in water | The metal. Iron(II) reduces it to platinum or palladium in the developer. |
| Developer | Potassium oxalate, about 25 % warm, or ammonium citrate | Dissolves the ferrous salt so it can reduce the metal; oxalate gives warmer tone, citrate cooler. |
| Clearing | Dilute hydrochloric acid, citric acid, or EDTA, three changes | Removes unreacted iron, which would yellow the highlights and stain over time. |
The chemistry is documented on darkroom-fyi: ferric ammonium oxalate, potassium chloroplatinite, sodium palladium chloride, potassium oxalate and chloroplatinic acid, with a worked formula under the platinum-palladium recipe.
Two modern variants replace parts of this. The Na2 method drops Solution 2 and controls contrast with one or two drops of a sodium hexachloroplatinate solution instead, which is cleaner and does not lower speed as chlorate does. The Ware-Malde printing-out process uses ammonium ferric oxalate with a humidified paper so that the image forms fully during exposure and needs no developer, only clearing; it is faster to judge but more sensitive to humidity.
The negative
Platinum wants a negative with a density range of about 1.4 to 1.8, roughly a stop more than silver paper wants. Because it is a contact process, the negative must be the size of the print. Historically that meant a large-format camera: an 8 × 10 view camera such as the Sinar P2 or a Linhof Master Technika in 4 × 5, exposed for the long scale and developed to a higher-than-normal contrast, often in a staining developer.
Today most platinum prints are made from digital negatives: a scan or digital capture is adjusted to a curve matched to the process and printed on transparency film at the final size on an inkjet printer. That is how a 35mm negative becomes an 11 × 14 platinum print, and it is why scanning and platinum printing now belong to the same workflow. The curve has to be built for your printer, paper and chemistry by printing a step tablet; there is no universal one.
The standard procedure
For an 8 × 10 print, in a room lit by tungsten bulbs or a dim safelight (the sensitizer is UV-sensitive and safe under ordinary incandescent light for the few minutes coating takes):
- Humidify the paper. Hang it in a room at 50 to 70 per cent relative humidity for an hour, or hold it briefly over a tray of warm water; palladium in particular loses density on bone-dry paper.
- Mix the sensitizer by the drop in a shot glass: for 8 × 10, about 12 drops of ferric oxalate (Solution 1, or a mix of 1 and 2 for more contrast) and 12 drops of the metal solution (Solution 3), all platinum, all palladium, or a ratio.
- Pour the sensitizer in a line across the top of the marked image area and spread it with a glass rod (a "puddle pusher") or a soft synthetic brush, working quickly and evenly until the coat is uniform and no pools remain.
- Dry the coated sheet in the dark with a hair dryer on cool, then let it rest five to fifteen minutes so the paper regains a little moisture.
- Place the negative emulsion-to-coating in a contact frame with a hinged back, and expose to ultraviolet: a bank of UV fluorescent tubes or LEDs for four to twenty minutes, or the sun.
- Check the print-out image through the hinged back. The shadows should be visible as a pale grey-brown image before development.
- Develop by sliding the print face-up into a tray of potassium oxalate developer at about 20 to 30 °C in one motion; the image appears in a second or two. Leave it two minutes.
- Clear in three successive trays of dilute clearing agent, five minutes each: EDTA, citric acid, or 1 to 2 per cent hydrochloric acid. The paper base should be pure white; a yellow cast means iron remains.
- Wash in running water for twenty to thirty minutes, then hang or lay flat on screens to dry. The print darkens slightly as it dries.
Controlling contrast and tone
- Ratio of platinum to palladium sets tone and, to a degree, contrast: more platinum, cooler and slightly harder; more palladium, warmer and softer. A common starting point is two parts palladium to one part platinum.
- Contrast agent. Solution 2 or Na2 raises contrast for a flat negative. Every drop costs speed and some shadow smoothness, so fix the negative first and use the agent as a fine control.
- Developer. Potassium oxalate is warmer and more vigorous; ammonium citrate is cooler and gives slightly more contrast. Warm developer, up to 40 °C, warms the tone and opens shadows.
- Humidity. Damp paper prints faster, warmer and with deeper blacks; dry paper prints cooler, slower and flatter. This is the largest uncontrolled variable in most darkrooms.
- Paper. Pure cotton rag with no buffering is essential; alkaline buffers kill the iron chemistry. Arches Platine, Hahnemühle Platinum Rag, Bergger COT 320 and Revere Platinum are made for the process; ordinary watercolour papers need an acid pre-bath and give unpredictable results.

Cost
A metal solution costs roughly a dollar a drop for palladium and two for platinum, so an 8 × 10 print uses ten to twenty dollars of metal before paper, iron and clearing. Test strips cost the same per square inch as prints. The economical habit is to do all exposure testing on small strips coated from the same mix, keep notes of drop counts, and print only once the strip is right. Spent developer is reused for years and improves with age; clearing baths and wash water carry a little palladium and should go to metal recovery, not the drain.
Tips
- Coat within a marked area drawn lightly in pencil on the back, and coat slightly larger than the negative, so the brushed edge becomes part of the print's character rather than an accident.
- Keep the sensitizer off the metal parts of the brush. Use a brush with a plastic ferrule or a glass rod; iron and steel contaminate the coating and print as black specks.
- Judge dry-down. Platinum prints dry down darker than silver prints. Read wet prints a little lighter than you want them.
- Store the metal solutions in the dark. Ferric oxalate solution keeps a few months refrigerated and grows less sensitive with age; platinum and palladium solutions keep indefinitely.
- Wear nitrile gloves throughout. Platinum salts are potent sensitizers; a platinum allergy ends a printing career.
- Learn the process on palladium alone. It is cheaper, more forgiving of humidity, and shows every fault of coating and negative that platinum will.
Related techniques
- Scanning Film Negatives — the front end of a digital negative
- Cyanotype Printing — the cheapest iron process; teaches coating, UV exposure and negative density before any metal is spent
- Gum Bichromate Printing — pigment process that shares the digital-negative workflow and is often layered over a platinum print
- Zone System Exposure — exposing and developing a negative to the longer scale platinum wants
Learn more
- Bostick & Sullivan — the main supplier of platinum and palladium kits and the source of the Na2 method; their instruction sheets are the working reference most printers start from.
- Mike Ware, Alternative Photography — the chemist behind the printing-out platinum-palladium process, with full formulae and the reasoning behind them.
- AlternativePhotography.com — practitioner articles and troubleshooting for platinum and palladium.