What is fill flash?
Fill flash is a technique where you use a flash unit not as the primary light source but as a supplement to existing light. The goal is to lighten shadows without overpowering the ambient exposure — especially useful for outdoor portraits where harsh sunlight creates deep shadows under eyes and chins, or for backlit subjects that would otherwise become silhouettes.
Reach for fill flash when the ambient light on your subject is either too contrasty (bright sunlight creating chin/eye shadows), too uneven (mixed shade-and-sun), or too much like a silhouette (the subject is darker than the background). A small amount of flash — deliberately dialed back — restores shadow detail without announcing itself as flash.
How it works — ambient and flash are independent
A photograph lit by ambient daylight plus fill flash captures two separate exposures that each obey their own rules.[1] Ambient exposure is controlled by shutter speed, aperture, and ISO in the usual way. Flash exposure is controlled by aperture, ISO, and flash power — but **shutter speed does not affect flash exposure
** (within the sync-speed limit) because the flash pulse lasts about 1/1000 s or less, far shorter than any normal shutter time. Once the shutter is open long enough for the flash to fire, opening it longer doesn't add to the flash contribution.
The practical consequence is that shutter controls ambient alone, and aperture controls both. That's why fill-flash workflows look the way they do: you meter the ambient first, choose your shutter/aperture/ISO to get the ambient right, and then dial the flash power separately to deliver a secondary contribution at the chosen aperture.
Flash-to-ambient balance
The key to natural-looking fill flash is setting the flash power below the ambient exposure. A common starting point is one to two stops below the ambient light level. For example, if your ambient exposure is f/8 at 1/125 s, set the flash to deliver f/4 or f/5.6 worth of light at the subject distance. This fills the shadows without making the image look "flashed."
On a subject with strong backlighting (the sun behind a person, say), the flash has more visible work to do and the balance can tighten: 1/2 to 1 stop below ambient, rather than 1-2 stops below, often gives a natural look. Go gentler for subtle shadow-lifting, harder for obvious backlit-rescue.
TTL vs manual flash
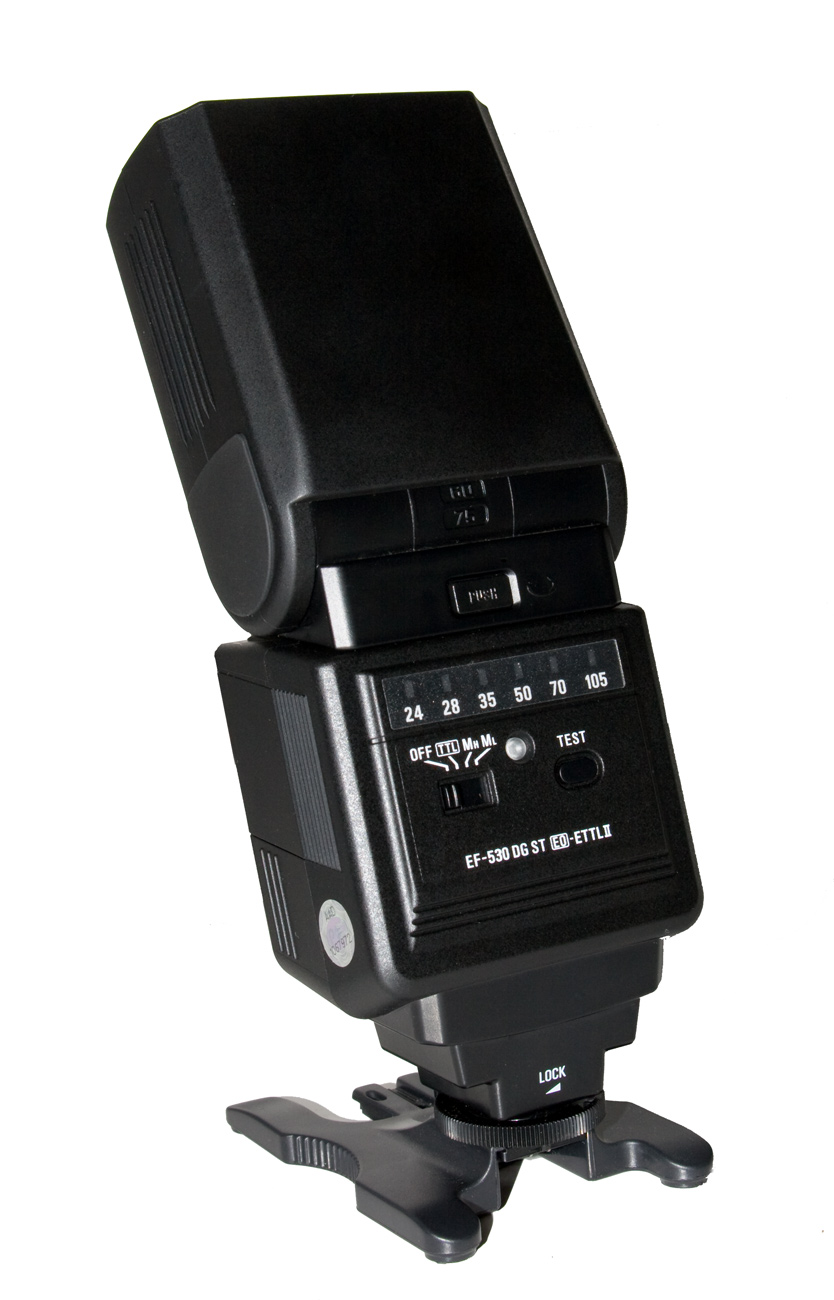
Modern electronic flashes offer two control modes
:
- TTL (through-the-lens) metering — the camera meters a pre-flash pulse, calculates the needed power, and fires the main flash at that power. Effectively auto-exposure for flash. Works well for rapid or changing-distance shooting; can be fooled by highly-reflective or highly-absorbent subjects and usually needs negative flash compensation (−1 to −2 stops) to reach the "fill" undershoot target rather than a fully-exposed flash look.
- Manual mode — you dial flash power directly as a fraction of full power (1/1, 1/2, 1/4, 1/8, down to 1/128 on many units). Requires you to compute the needed power from the guide-number system, or to find the right setting experimentally. Slower but predictable and repeatable — once dialed in for a given aperture and distance, subsequent frames match.
For deliberate fill flash at a fixed distance (outdoor portrait workflow), many photographers prefer manual — it's reproducible and doesn't require fighting TTL's default toward full flash exposure. TTL is better for rapid shooting or when the subject distance is changing.
Calculating fill flash with manual flash
With manual flash, use the guide number (GN) to calculate the correct flash-to-subject distance or power setting:
**GN = distance × f-stop

** (at the flash's rated ISO and zoom setting)
If your flash has a GN of 36 (meters at ISO 100) and you want f/5.6 fill, the flash should be about 6.4 meters from the subject. Rearranging: aperture = GN / distance, or distance = GN / aperture.
GN scales with ISO by √(ISO/100) — doubling ISO multiplies effective GN by √2 ≈ 1.4 (one half-stop). At ISO 400, a GN-36 flash acts like a GN-72 flash at ISO 100 — twice the reach at the same aperture, or one stop smaller aperture at the same distance.
Many shoe-mount flashes provide a calculator dial or LCD that handles this automatically: enter your aperture and distance, and the flash sets its own power. At fixed fill-flash distances (say, a 2–4 m outdoor portrait), even half or quarter power is typically plenty of output.
Sync speed considerations
Film cameras have a maximum flash sync speed — the fastest shutter speed at which the first curtain fully opens before the second starts closing. Typical values:
- Horizontal cloth focal-plane (older SLRs, Leica rangefinders): 1/30 s – 1/60 s (the Pentax K1000 and many 70s–80s SLRs fall in this band)
- Vertical metal focal-plane (Copal Square et al., later SLRs): 1/125 s – 1/250 s
- Leaf shutter (in-lens on most medium- and large-format lenses): all speeds, up to 1/500 s typically
On a bright sunny day at sunny-16 settings (ISO 400: f/16 at 1/400 s), the ambient shutter may exceed the body's sync speed. Four workarounds, in rough order of simplicity:
- Stop the lens down further (f/22 or f/32) to drop ambient to sync-compatible shutter speeds — costs some resolution at the smallest apertures due to diffraction.
- Load slower film — ISO 100 instead of 400 drops ambient by 2 stops and brings sync-compatible shutter speeds into reach.
- Neutral-density filter — an ND3 (3-stop) filter on the lens reduces ambient by 3 stops without constraining the flash; you raise flash power to compensate.
- High-speed sync (HSS / FP flash) — supported on some electronic flashes and bodies. The flash pulses repeatedly during slit travel; trade-off is an effective 2–3 stop power drop because the pulse energy is spread out.
Outdoor portrait technique
For the classic outdoor fill flash portrait: meter the background or ambient light and set your exposure accordingly. Then set the flash to deliver 1 to 1.5 stops less light than the ambient. Shoot a test frame and adjust.
With the generous latitude of negative film — especially Kodak Portra 400 and Kodak Tri-X 400 — slight errors in fill ratio are easily correctable during printing or scanning. Slide film is less forgiving; bracket by ±1/2 stop in flash output if the scene matters.
Backlit subjects
Backlit portraits (sun behind the subject) are one

of fill flash's most satisfying applications. The workflow:
- Meter the sky or background normally — this gives you the ambient exposure that renders the background correctly
- Stop down half a stop from that meter reading — this gives the sky slightly richer saturation without darkening the foreground meaningfully
- Set flash to deliver about one stop less than this new ambient — enough to rescue the subject's face from silhouette without visibly "flashing" them
- Watch for rim-light falloff on hair — strong backlight creates a luminous hair edge that the fill flash will partially wash out; back off flash power if you want to preserve the rim
The closer the subject is to the flash, the less power is needed. Off-camera flash (on a cord, or via a radio trigger) lets you place the light for flattering angles rather than accepting the camera-flash-axis look.
Placement and modifiers
Fill flash on-camera, direct, is the simplest approach and the assumption behind everything above. Two common modifications:
- Bounce flash — angle the flash head upward toward a ceiling (indoors) or a light-toned wall (outdoors). Trade ~2 stops of effective output for much softer, more diffuse light that's less obviously "flash." Requires a surface within a few meters; outdoors this isn't usually practical.
- Diffusion panel (small softbox, diffuser dome, even a white handkerchief) — mounts over the flash head. Trade 0.5–2 stops of output for softened light edges; a Stofen-style dome is ~1/2 stop, a medium softbox ~2 stops.
- Off-camera — requires either a TTL cord connecting camera and flash or a radio trigger; lets you place the fill from a 45-degree side angle (more natural-looking face lighting) rather than dead-on from the camera position.
For routine outdoor fill-flash portraiture, direct on-camera flash at reduced power is a fine default; bounce and off-camera approaches are worth the extra setup when lighting quality is the primary consideration.