What are ND filters?
Neutral density (ND) filters reduce the amount of light entering the lens without affecting color or contrast. "Neutral" means flat spectral absorption — the filter darkens red, green, and blue light equally, so the scene's color balance is preserved.[1] ND filters are specified by their density, their stop reduction, or a product-line nickname (Big Stopper, Little Stopper). The next section translates between these naming conventions.
The density scale explained
Optical density is defined by the transmittance T of the filter (the fraction of light that passes through):
d = log₁₀(1 / T)
A filter that transmits half the light (T = 0.5) has density d ≈ 0.3. One that transmits 1/1000 of the light (T = 0.001) has density 3.0. The ND product-naming convention uses 10^d as the numeric suffix: ND2 because 10^0.3 ≈ 2; ND1000 because 10^3 = 1000. The relationship to stops is simpler: each stop of light reduction adds 0.3 to the density, because one stop is a halving of light and log₁₀(2) ≈ 0.3. See [[exposure-value-ev]] for the underlying stop math.
Reference table — stops, density, ND number, transmittance, factor
| Stops | Density (d) | ND number | Transmittance | Exposure factor |
|---|---|---|---|---|
| 1 | 0.3 | ND2 | 1/2 (50%) | 2× |
| 2 | 0.6 | ND4 | 1/4 (25%) | 4× |
| 3 | 0.9 | ND8 | 1/8 (12.5%) | 8× |
| 4 | 1.2 | ND16 | 1/16 (6.25%) | 16× |
| 5 | 1.5 | ND32 | 1/32 (3.13%) | 32× |
| 6 | 1.8 | ND64 | 1/64 (1.56%) | 64× |
| 7 | 2.1 | ND128 | 1/128 (0.78%) | 128× |
| 8 | 2.4 | ND256 | 1/256 (0.39%) | 256× |
| 9 | 2.7 | ND512 | 1/512 (0.20%) | 512× |
| 10 | 3.0 | ND1000 | 1/1024 (0.10%) | 1024× |
| 13 | 3.9 | ND8192 | 1/8192 | 8192× |
| 15 | 4.5 | ND32768 | 1/32768 | 32,768× |
| 16 | 4.8 | ND65536 | 1/65536 | 65,536× |
The "ND1000" convention is a slight rounding: 10 stops is exactly a 1024× reduction, not 1000×, but the marketing-friendly round number has stuck. For most field work the ¼-stop difference is well within shutter-speed discretization, but for critical color work or heavily-stacked combinations the exact factor matters.
Why use ND filters with film?
Film photographers cannot change ISO mid-roll. If you are shooting Kodak Portra 400 on a bright day and want to use a wide aperture (f/1.4 or f/2) for shallow depth of field, your shutter speed might need to exceed the camera's maximum (often 1/1000s on older 35mm bodies, 1/500s on some medium-format systems, 1/250s on many leaf-shutter large-format lenses). An ND filter solves this by reducing the light by several stops so the intended aperture and shutter become compatible.
The second major use case is long exposures during daylight — silky waterfalls, motion-blurred crowds, smooth seas
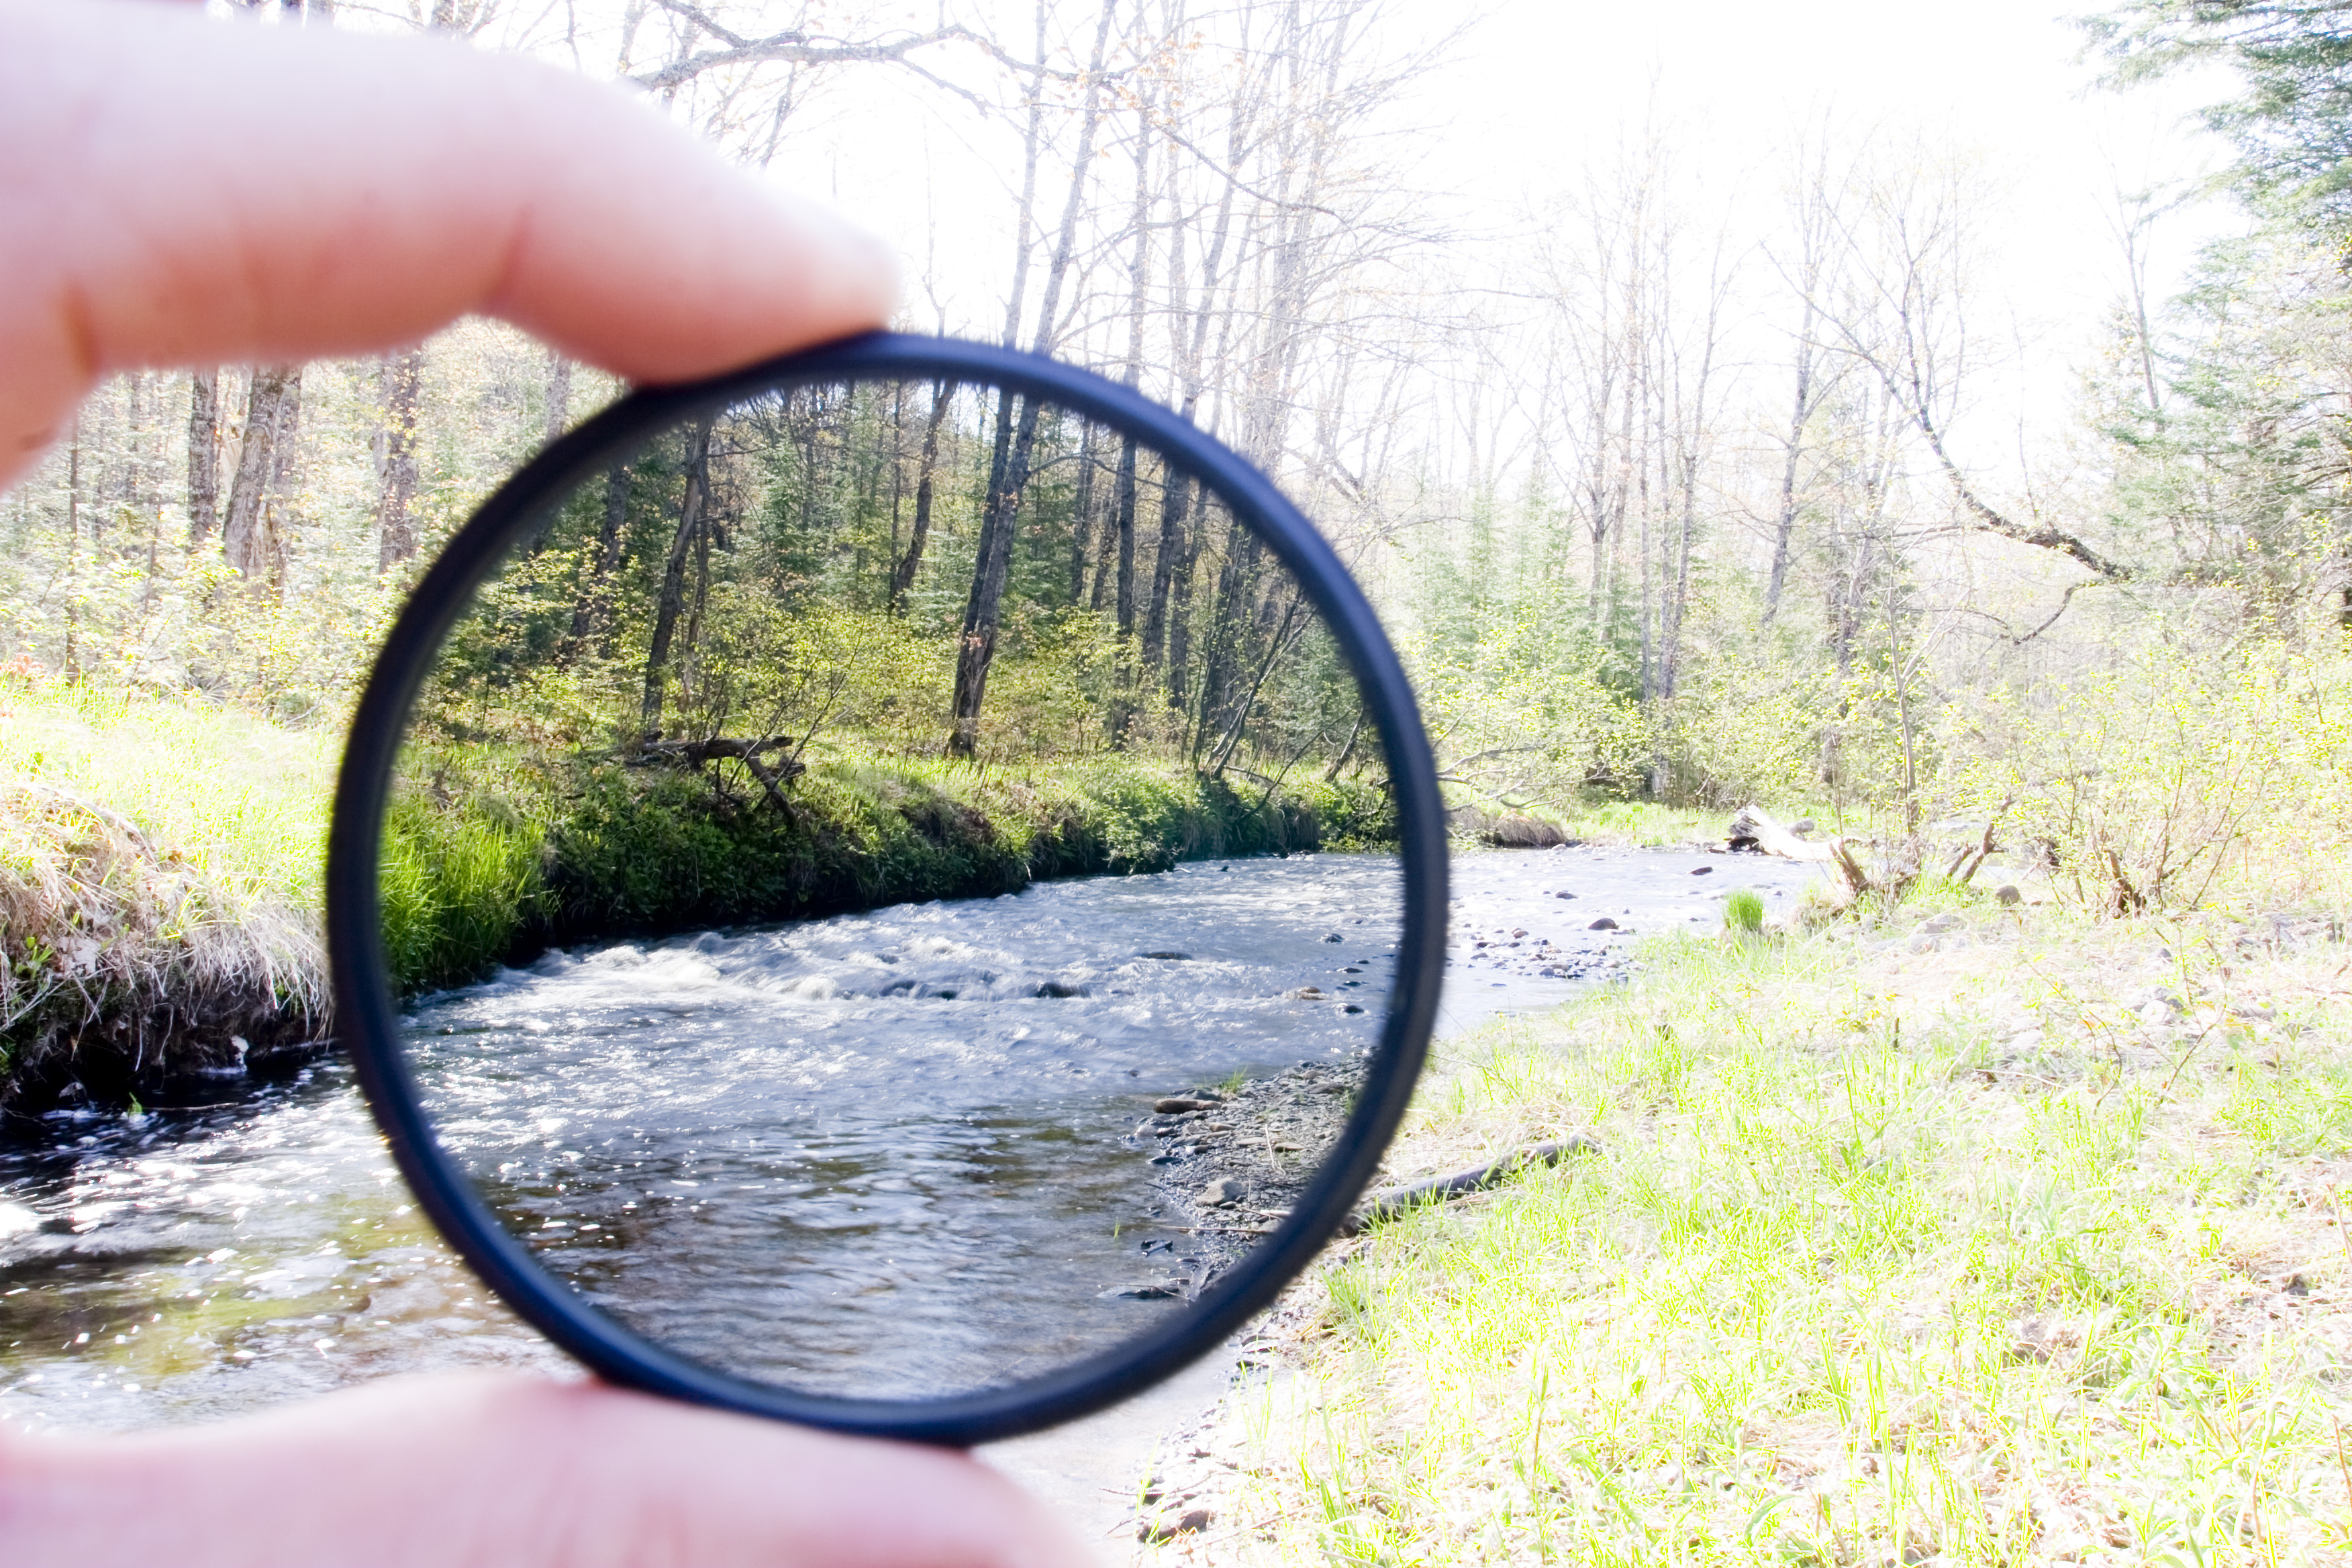
, cloud-streak skies. Without an ND filter, a base exposure on ISO 400 film at f/16 in bright sun is about 1/250s; to render water as motion-blurred silk, you want 1 to 30 seconds. That's 6 to 13 stops of light reduction — exactly the territory of 6-, 10-, and 13-stop ND filters.
A third case: maintaining a shutter speed across a scene as the light drops (a sunset sequence, for instance). An ND filter loaded early in the shoot gives consistent shutter speeds through the golden-hour drop without needing to re-meter every frame.
Types and selection
Three canonical ND filter types:
- Fixed ND filters — glass or resin filters with a set density. The most optically pure option; consistent color rendition; suitable for critical work. Drawback: you need multiple filters to cover the range (typical kit: 3-stop, 6-stop, 10-stop; optionally a 13-stop). Stack them when needed, though stacking increases the risk of vignetting on wide-angle lenses and introduces additional air-to-glass interfaces that can flare.
- Variable ND filters — two polarizing elements stacked such that rotating one varies the density continuously (typically 2 to 8 stops). Convenient for videographers and run-and-gun film shooters; one filter covers a wide range. Compromises: uneven density at extreme settings (the "X pattern"), color shifts on cheap units, and reduced optical quality vs. fixed filters.
- Graduated ND filters — half clear, half dark, with a gradual transition. Essential for landscape photography to balance a bright sky against a darker foreground without the ND affecting the whole frame. Available in soft-transition (for uneven horizons with trees and mountains) and hard-transition (for clean sea-level horizons). Graduated NDs are best used with a filter holder so the transition line can be positioned precisely against the scene's horizon; threaded-mount grads force the split at the center of the frame, which rarely matches the actual horizon placement.
The variable-ND X pattern — why it happens
Variable NDs are constructed from two polarizing layers. When the two polarizers are aligned, light passes freely; when rotated to 90° relative alignment, they should block all light. In practice the second behavior is never perfectly achieved, especially at steep off-axis angles, because:
- Glass birefringence — the filter glass itself (and the lens elements the light has already passed through) induces small polarization shifts that prevent true 90° extinction
- Angular dependence — polarizers work best on rays traveling straight through; oblique rays experience different effective polarization angles
- Combined effect — the rays at the center of the frame are more axial, rays at the edges are more oblique; this creates a dark cross (the "X") across the image at extreme settings
The X pattern is most visible at the maximum-density end of a variable ND's range and on wide-angle lenses (more oblique rays). Two practical consequences:
- Stay within 2 to 6 stops on a variable ND — most units handle this range without visible X-pattern artifacts
- Avoid variable NDs on wide-angle lenses for critical work — the X pattern appears earliest on 24mm and wider
For committed long-exposure work, fixed ND filters are worth the inconvenience.
Brand and quality shortlist
Ubiquitous names in the ND market: B+W (Schott glass, multi-coated; the conservative-quality default), Lee Filters (the Big Stopper / Little Stopper product line; resin square filters with a dedicated holder system; the landscape-photography standard)

, Formatt-Hitech (glass and resin; their ProStop IRND line is notable), Hoya (Pro and HD series; reasonable quality at lower price), and Haida (glass; aggressive pricing; comparable quality to Hoya Pro at lower cost).
What actually matters:
- Multi-coating — reduces internal reflections and flare; essential for stacked filters or back-lit scenes
- Optical density accuracy — cheaper filters can be ¼ to ½ stop off the stated value
- IR cut (on 10-stop and deeper NDs) — see next section
- Glass flatness (for large-format use) — critical for LF because the filter typically goes in front of the lens board, where any wedge introduces focus shift at close focus
What doesn't meaningfully matter:
- Exotic material marketing — "nano coating," "ultra-thin rim" — marketing noise vs. substance
- Brand prestige — a Haida 10-stop and a B+W 10-stop produce indistinguishable images under most circumstances. Pay more for better coatings and IR cut, not for the name.
Stacking multiple filters — the stops add
If you combine a 2-stop ND and a 6-stop ND, you get 8 stops of light reduction. Expressed as factors: 4× × 64× = 256× (ND256). Expressed as density: 0.6 + 1.8 = 2.4d. The three expressions are equivalent — pick whichever is easier to compute in your head.
Stacking a polarizer with ND filters is a common field combination; polarizers typically add 1½ to 2 stops of their own. A circular polarizer + 6-stop ND = ~8 stops total; the polarizer additionally saturates skies, deepens greens, and cuts reflections on water and foliage. In landscape work, polarizer + graduated ND + 6-stop ND stacks three filters for a full sunset seascape workflow.
Practical warning: stacked filters mean more air-to-glass interfaces and more opportunities for flare. Use a lens hood; avoid stacking more than three filters; prioritize multi-coated glass when buying.
Infrared contamination on deep NDs
Many consumer ND filters are optically "neutral" in visible light but pass significant infrared radiation. For film photographers this matters in two scenarios:
- IR-sensitive films — Rollei Superpan 200, Rollei Infrared 400, Kodak Aerochrome (now discontinued). If you're shooting these under ND, unwanted IR transmission from the filter contaminates the latent image regardless of whether you're trying to capture IR or block it.
- Heavy ND stacks — some combinations of ordinary filters pass enough IR that even regular panchromatic film shows unexpected tonal shifts in foliage (which reflects IR strongly)
IR-cut NDs (B+W MRC Nano 110 IR, Lee ProGlass IRND, Formatt-Hitech ProStop IRND) add a dichroic infrared-blocking layer to the density coating. For film work under 10-stop and deeper NDs, and for any work with IR-sensitive stocks, IR-cut NDs are worth the premium.
Long exposure technique
With strong ND filters (6+ stops), the viewfinder becomes too dark to see through. Standard workflow:
- Compose and focus without the filter — lock the tripod, meter the scene, set aperture and shutter
- Mount the filter — screw-in types rotate on; Lee-system types slide into the holder
- Compute the extended exposure — base exposure + ND stops in seconds; see the reference table or worked example below
- Check for reciprocity compensation — if the final shutter time exceeds ~1 second, add reciprocity correction for your film per the data sheet or the Reciprocity Failure Compensation table
- Cable release + mirror lockup + tripod — any camera movement during a 10+ second exposure is visible
- Cover the viewfinder eyepiece — some SLR bodies admit stray light through the viewfinder that can fog the frame during long exposures; the Nikon DK-5 eyepiece cover and equivalents are worth the $5
Reciprocity interaction — factor first, then reciprocity
The order of calculation matters when you stack ND with reciprocity correction:
- Compute base exposure at the intended aperture with no filter (from the meter): say, 1/60s at f/8
- Apply the ND factor to get filtered exposure: 10-stop ND → 1/60 × 1024 ≈ 17s
- Apply reciprocity correction to that filtered time, not the base time. For Kodak Tri-X 400 at 17s metered, the reciprocity-corrected time is roughly 17^1.3 ≈ 37s.
- Final shutter time: 37 seconds, not 17 seconds
Getting the order wrong — applying reciprocity to the 1/60 base time then scaling by the filter factor — produces a significantly under-exposed negative. The factor scales exposure duration; reciprocity operates on the final scaled duration.
See [[reciprocity-failure]] for the underlying mechanism, and /techniques/reciprocity-failure-compensation for the per-stock correction tables.
Large format and bellows-extension combinations
Large-format practitioners face a third multiplicative factor on close-focus subjects: bellows extension factor. When the lens-to-film distance exceeds the focal length (as it does for close subjects), the effective aperture is smaller than the marked aperture, and exposure compensation is required:
bellows factor = (extension / focal length)²
For example, a 210mm lens at 300mm extension has a bellows factor of (300/210)² ≈ 2× (one stop).
Stacking three factors for a close-focus LF long exposure:
- Base metered exposure: 1/15s at f/22
- Bellows factor (1 stop): 1/15 × 2 = 1/8s
- Filter factor (6-stop ND, 64×): 1/8 × 64 = 8s
- Reciprocity correction on 8s (Acros II ≈ 1.0 exponent, so no correction; Tri-X ≈ 8^1.3 ≈ 14s)
Order matters for each step. The Merklinger view-camera workflow (for readers following up: see [[merklinger-focusing-the-view-camera]]) discusses bellows-extension compensation in detail but treats filter factors as a separate exposure consideration; both apply.
Worked example — seascape with 10-stop ND
You're at a coastal cliff at low tide. Your meter reads f/8 at 1/60s on Ilford FP4 Plus (ISO 125) for the water. You want silky-smooth water texture, so you need a shutter time

in the 15–45 second range.
- Mount a 10-stop ND filter (Lee Big Stopper, B+W 110, or similar)
- Compute the filtered exposure: 1/60 × 1024 = ~17 seconds metered
- Apply reciprocity correction — FP4 Plus at 17s metered needs ~30-35s actual per Ilford's reciprocity data
- Set the final exposure: 30 seconds on bulb mode, f/8
- Set up: cable release, mirror lockup, eyepiece cover, check tripod leg solidity
- Shoot — one frame, then check composition and re-shoot if needed (long exposures are expensive in shutter time and bracketing frames is the norm)
Expected result: water textured as smooth motion blur; stationary rocks and cliff face perfectly sharp; no reciprocity-driven shadow drop thanks to FP4's reasonable long-exposure behavior. A classic long-exposure seascape in a single frame.
Practical considerations
Quality matters with ND filters. Cheap filters can introduce color casts (common on uncoated variable NDs), reduce sharpness, or cause flare. For film work, a slight warm or cool cast from an ND filter may not be noticeable on B&W film but will affect color film — bracket color-critical frames or test your specific filter against a gray card before committing to a big shoot.
Filter holders (Lee, Cokin, NiSi) let you use the same set of square glass filters across multiple lens diameters, and their design makes graduated filter alignment easy. Threaded filters are simpler and cheaper for a fixed kit, but require matching diameters (or step-up rings) across the lenses in your bag.
Finally: ND filters are an equipment-side answer to an exposure problem. The alternatives — faster film, slower shutter speed, different scene — are sometimes better. Use ND filters when the scene demands them, not as a default.