Overview
The Zone System, developed by Ansel Adams and Fred Archer in the late 1930s
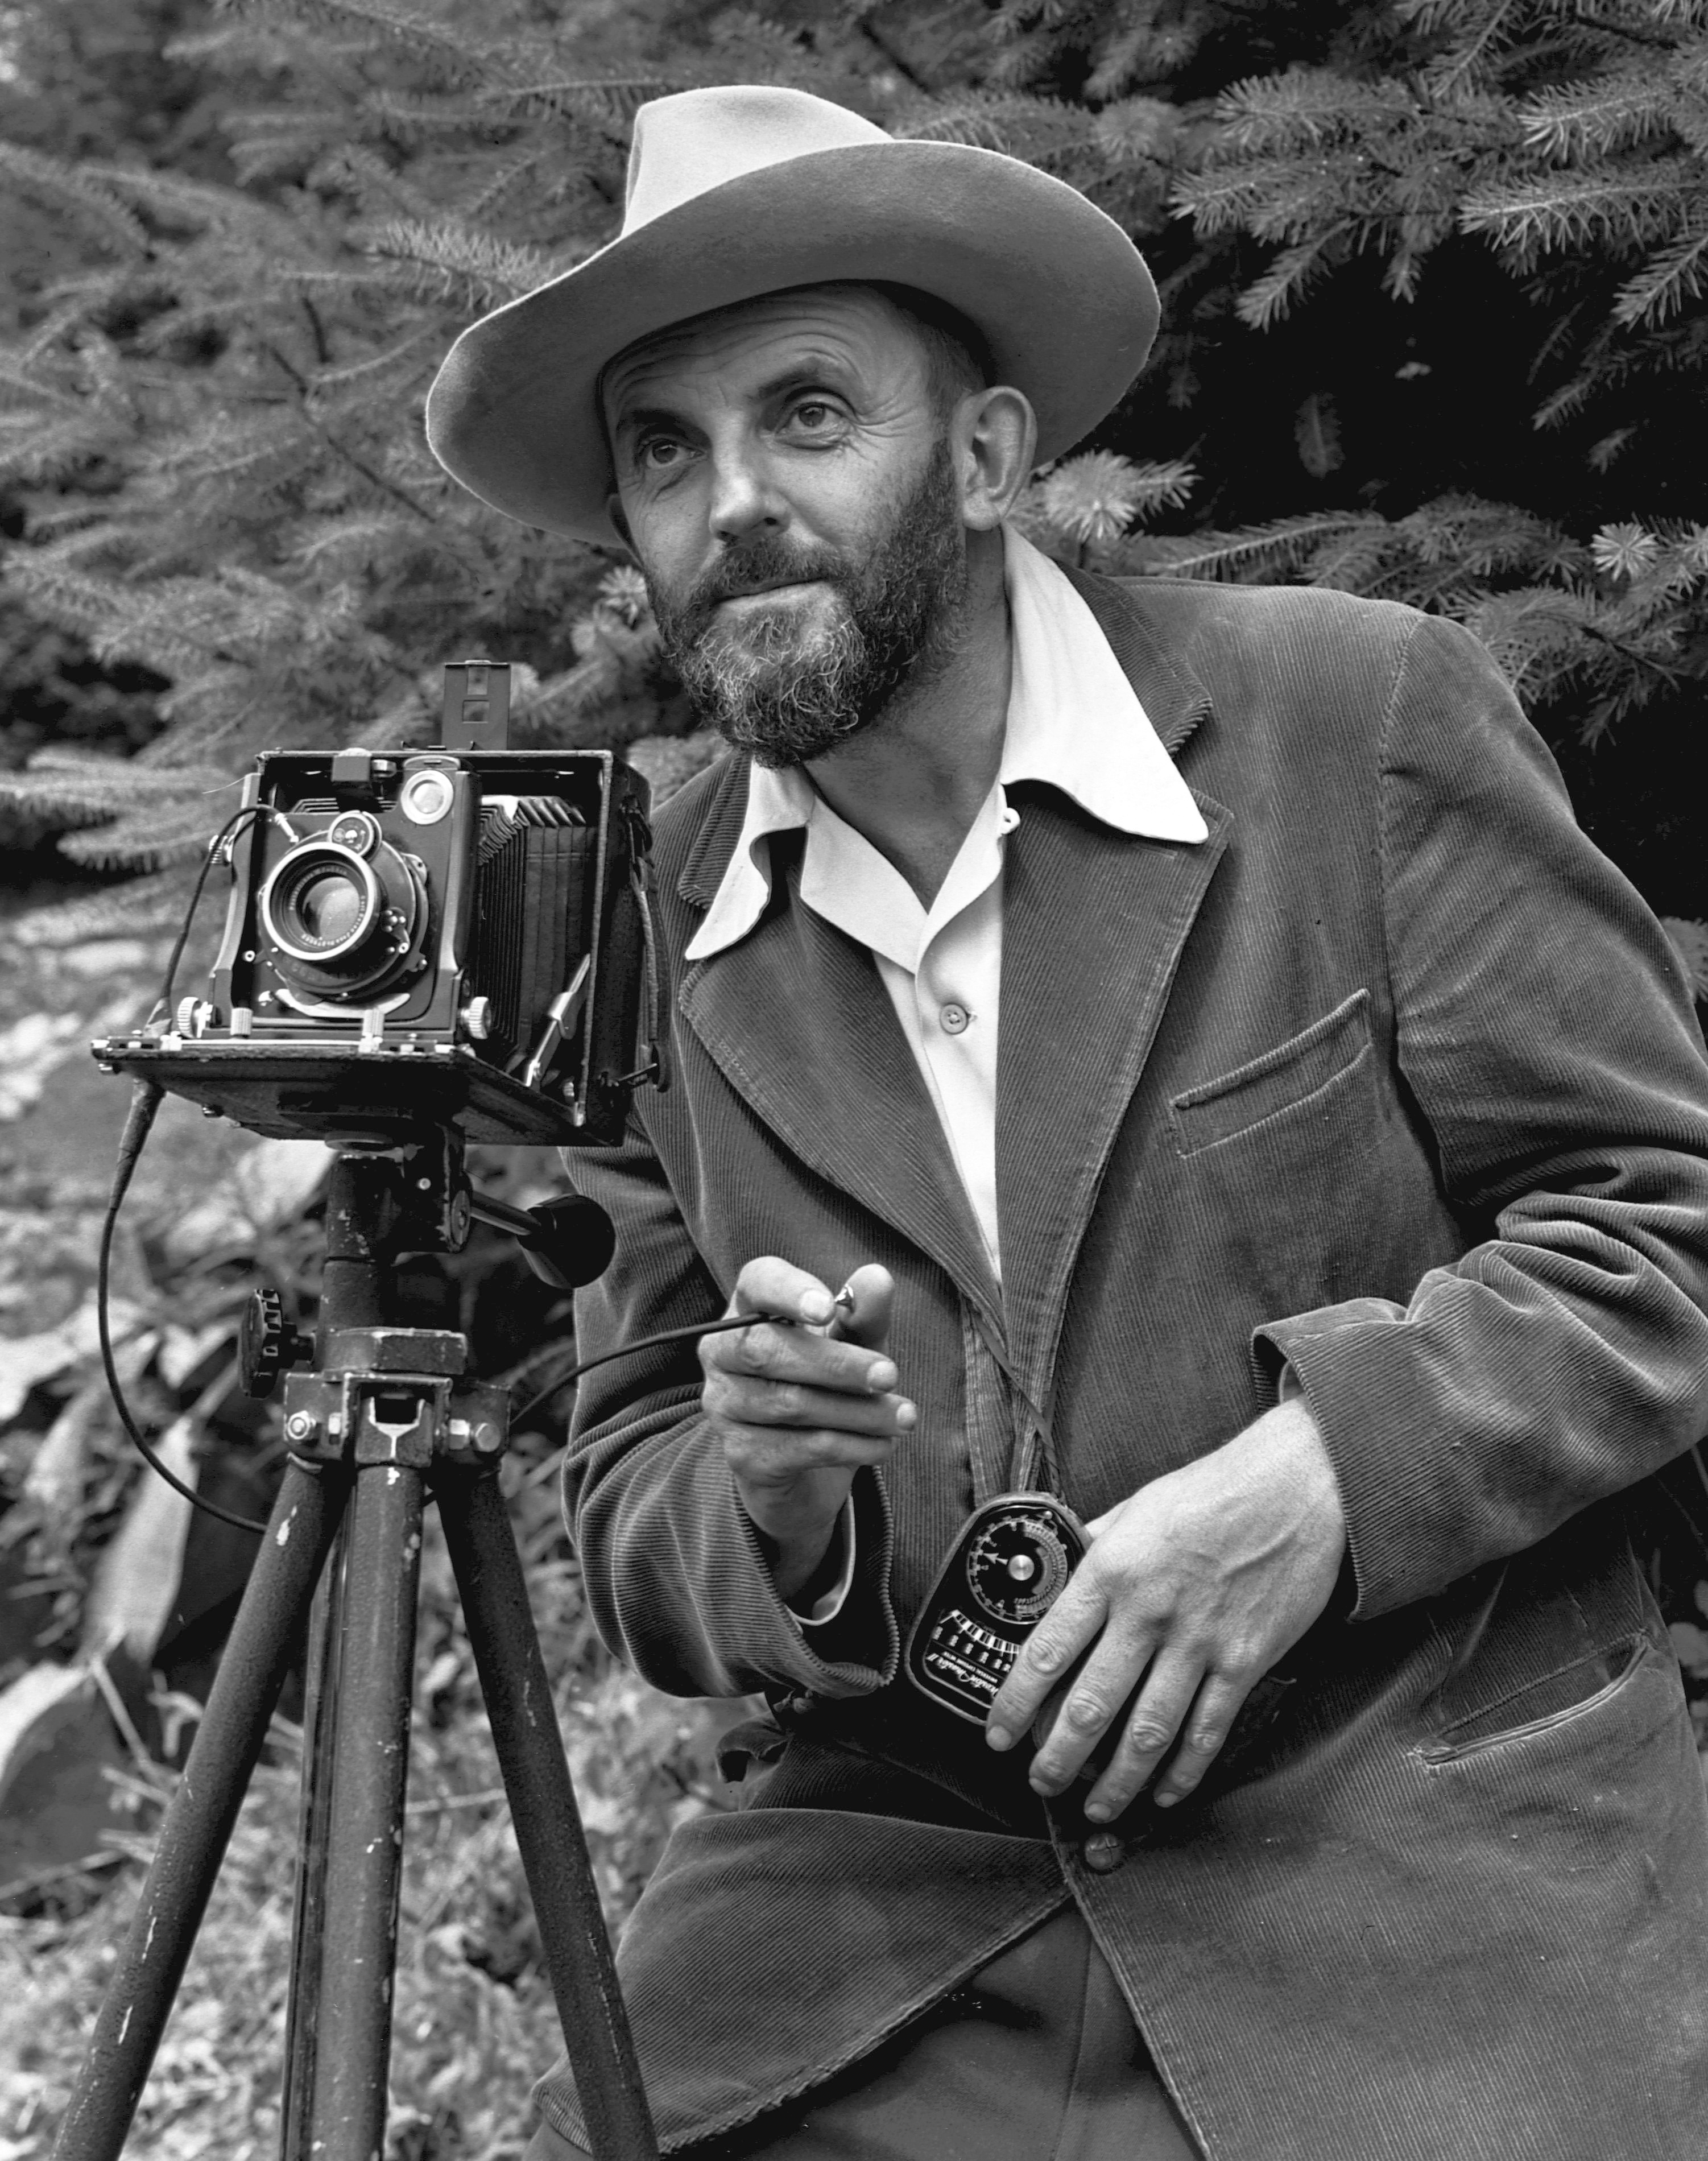
at the Art Center School in Los Angeles, is a systematic method of precisely controlling exposure and development to achieve a full range of tonal values in a photograph.[1] It divides the tonal range into eleven zones, from Zone 0 (pure black) to Zone X (pure white), with Zone V representing middle gray (18% reflectance). The system bridges the gap between what you see, what your meter reads, and what appears on the final print — and it remains, nearly a century later, the foundational framework for serious B&W photography.
Pre-visualization — the core idea
The Zone System exists to serve pre-visualization: the craft discipline of imagining the final print before exposure, then working backward through exposure and development choices to achieve it.[1] Adams's insight — radical in its time, commonplace now — was that photography is an expressive act, not a mechanical one. The photographer isn't trying to "get the exposure right" in some absolute sense; the photographer is trying to render specific brightness values at specific zones to convey a specific emotional reading

.
A gray rock that meter-reads as Zone V can be placed on Zone V (rendered middle gray), on Zone III (rendered as a dark shape), or on Zone VII (rendered as bright). All three are "correct exposures" — they just render the rock differently, telling different visual stories. The Zone System gives the photographer the vocabulary and the control to make those choices deliberately.
Without pre-visualization, the Zone System degenerates into a procedure. With pre-visualization, it becomes an artistic instrument.
The film responds in a specific way
The Zone System works because film's response to light follows a predictable curve

— the characteristic curve — with three distinct regions: a toe (shadows; compressed separation), a linear middle (most visible tones; good separation), and a shoulder (highlights; compressed separation approaching the film's maximum density). Exposure determines where scene values land along this curve. Development determines the curve's slope in the linear middle and highlight regions but barely affects the toe.
This split has a powerful practical consequence: exposure controls shadows, development controls highlights. Once you expose, the toe region is fixed — there's no development change that recovers shadow detail you didn't record. But extending development steepens the upper curve, pushing highlight values higher; reducing development flattens it, pulling highlights down. Adams's maxim "expose for the shadows, develop for the highlights" is the direct consequence of how film chemistry maps onto this curve.
The Zone System is a language for operating on the curve. Each zone is one stop of exposure, which maps to a specific density on the curve. "Placing" a scene value on Zone III means exposing so that value lands at the curve density corresponding to Zone III. N+1 / N-1 development reshapes the curve to move upper zones up or down one stop.
The zones in practice
Each zone is one stop of exposure apart, and each carries specific texture and tonal characteristics that photographers learn to see:
- Zone 0 — pure black. The film's base + fog density. No texture, no detail.
- Zone I — nearly pure black, barely distinguishable from Zone 0. Deep shadow with no detail.
- Zone II — distinct from black but still textureless. Deep shadow just emerging from absolute darkness.
- Zone III — the lowest zone with clear texture. Dark skin in sunlight, dense dark foliage, shadow with legible detail. This is the threshold where detail appears.
- Zone IV — deep gray with full texture. Dark stone, dark clothing in diffuse light, dark foliage out of direct sun.
- Zone V — middle gray (18% reflectance). The default meter reading; north-sky blue, gray stone in open light, typical green grass.
- Zone VI — light gray, textured. Caucasian skin in sunlit open shade, light concrete, light-gray animal fur.
- Zone VII — textured bright. Sunlit caucasian skin (depending on complexion), light fabric, snow in overcast.
- Zone VIII — slight-texture highlight approaching white. Whitewash on a sunny day, white shirts in sun, snow in direct sun.
- Zone IX — barely distinguishable from white. Very faint texture. Rarely a deliberate placement.
- Zone X — pure paper white. Specular highlights, direct sun reflections, no texture.
The working portion for most scenes is roughly Zones II through VIII — the rest gets crushed into black or white without texture.
Placing shadows — the exposure decision
The most consequential single decision in a Zone System exposure is where to place the darkest important shadow. The convention is Zone III — the lowest zone with texture. Placing shadow detail on Zone III keeps it distinctly separated from the void below while reserving Zones I and II for even deeper, texture-less shadow.
Why not Zone II? Because Zone II and lower are on the curve's toe, where tonal separation is poor and a small exposure change can push the value into unrecoverable blackness. Zone III is comfortably above the toe, producing a shadow with legible detail you can still print.
Why not Zone IV? Because Zone IV is brighter than most intentional shadows should render — a Zone IV shadow doesn't read as "dark" against Zone V-VII mid-tones; it reads as "dim mid-tone." Placing dark shadow on Zone IV flattens the image's overall contrast without intention.
With a spot meter, the workflow is:
- Identify the darkest area where you want visible detail
- Meter it (the meter wants to render it Zone V — middle gray)
- Close the aperture or speed up the shutter by 2 stops — this moves the value down to Zone III
Stopped down 2 stops from the shadow-meter-reading, your shadow lands on Zone III. Everything else in the scene lands on whichever zone its own brightness dictates relative to that shadow.
Reading highlights — the development decision
Once exposure is set, walk the spot meter through the brightest areas and note where they fall. If the brightest-important-highlight lands on Zone VIII (textured-bright), you have a normal-contrast scene and use normal (N) development. Higher or lower highlight zones require development adjustment:
- Highlights fall on Zone IX or X — scene contrast exceeds what normal development can render. Reduce development by approximately one zone per stop of excess (N-1 pulls Zone IX → VIII; N-2 pulls Zone X → VIII). This "contracts" the scene's brightness range to fit the paper.
- Highlights fall on Zone VI or VII — scene is flat (low contrast). Extend development to push highlights up (N+1 pushes Zone VI → VII, Zone VII → VIII). This "expands" a flat scene to full tonal range.
Specific N+1 and N-1 development times are film-stock-specific and vary with developer choice. Published charts exist in most film data sheets (see also the sister site darkroomFYI for developer-by-developer guidance on N adjustments), but personalized testing is the norm for committed Zone System practitioners — personal film speed + personal N, N+1, N-1 times calibrated to the practitioner's specific development workflow.
Metering technique
The Zone System depends on metering individual areas of a scene rather than taking a single "average" reading. Options:
- Handheld spot meter (Pentax Spotmeter V / VI, Gossen Starlite, Sekonic L-758) — 1° measuring angle; point at specific scene elements to read their luminance in zones. The gold standard for Zone System work.
- In-camera spot meter — many 80s-era SLRs (Olympus OM-4, Nikon FA, Pentax LX) offer spot metering through the lens with small measuring areas. Less precise than handhelds but adequate for field work.
- Averaging / center-weighted meters — the default on most cameras. Not directly compatible with Zone System placement since they integrate across the frame, but can be used with the "meter off a gray card" workaround (meter an 18% gray card in the scene's light, place that reading on Zone V, work from there).
The Pentax K1000 and most 70s-era SLRs use center-weighted averaging — they support the gray-card workaround but not direct Zone placement. For full Zone System practice, a handheld spot or a spot-capable body is worth the investment.
Worked example — a backlit portrait in open shade
A concrete walkthrough: you're photographing a subject in open shade with a bright sunlit background. Caucasian skin in open shade; a sunlit wall behind.
- Previsualize — you want the subject's skin to render as textured bright (Zone VI), the shadow side of their face to retain shadow detail (Zone III for the darkest shadow area, likely under the chin), and the sunlit wall behind to render as textured bright-white without blowing to paper-white (Zone VIII).
- Meter the darkest shadow — under the chin. Spot meter reads f/8 at 1/30.
- Place on Zone III — close aperture 2 stops → f/16 at 1/30, or stop speed up equivalently → f/11 at 1/60. Either way, shadow lands at Zone III.
- Check highlights — spot meter the sunlit wall. If it reads f/22 at 1/60, that's 2 stops brighter than our placement (f/11 at 1/60 would be its middle-gray placement at f/22 distance). So the wall lands at Zone V + 2 = Zone VII. That's textured-bright but not full-bright — below the Zone VIII we previsualized.
- Expand development — to push Zone VII up to Zone VIII, use N+1 development.
- Shoot — at f/11, 1/60, on appropriate film for N+1 development. Shadow lands Zone III, sunlit wall lands Zone VII at shooting time but Zone VIII after N+1 development.
This is the full Zone System loop: previsualize, meter, place, check, adjust development, shoot. Once internalized it becomes second nature, not a procedure; novices walk through every step explicitly, experienced practitioners collapse it into a few seconds.
Sheet film vs. roll film vs. digital
The Zone System was developed for sheet film where each negative can be developed individually. This is where it works with full force:
- Sheet film (large format) — develop each sheet to its own N rating. Maximum Zone System flexibility.
- Roll film (35mm or 120) — all frames on the roll share one development. Zone System still helps with pre-visualization and consistent exposure placement, but N+/N- requires segregating rolls by intended development. Many roll-film photographers commit to one film+development combination and work within that envelope.
- Digital — the "development" phase is post-capture raw processing rather than chemical. Zone System thinking still helps with metering and exposure placement (expose to protect highlights; shadows can be lifted in raw with less latitude than film but more than transparency); the N+/N- development control doesn't map, though raw contrast curves are an approximate analog.
Even without the full N+/N- control, the pre-visualization and spot-metering habits from Zone System practice remain valuable. A roll-film photographer shooting Kodak Tri-X 400 at box speed with standard D-76 development still benefits from thinking in zones; they just can't re-shape the response curve after the fact.
Simplified variants
Full Zone System calibration — personal film speed, personal N times for multiple developer/stock combinations, personal N+1/N-1 times — takes weeks of testing. Not every photographer needs that depth. Simpler paths:
- Phil Davis's BTZS (Beyond the Zone System) — uses a characteristic-curve-based approach with densitometer-measured film responses. More quantitative than classical Zone System; less zone-vocabulary-heavy. Well-suited for committed practitioners who want rigor without Zone-language tradition.
- Two-point method — place shadow on Zone III, note where Zone VIII highlight falls, use simplified N+/N-/N decision rule without full testing. Gets ~80% of the value for ~20% of the setup effort.
- Zone System thinking without Zone System testing — expose for shadows, use manufacturer's recommended development, pre-visualize deliberately. This is what most serious B&W roll-film photographers actually do. Closer to sunny-16 with pre-visualization added than to full Zone System, but vastly more disciplined than snapping and hoping.
There's no shame in the simplified paths; the Zone System is a spectrum of rigor, and the full-testing end of the spectrum is a commitment more than a requirement.
Interaction with other techniques
- Sunny-16 rule — can be read as a Zone V placement shortcut for daylight scenes. The EV-15 constant it assumes translates directly into Zone V placement; sunny-16's condition-adjustments are quick approximations of what a spot-meter Zone System workflow would do more precisely.
- Reciprocity-failure compensation — long exposures bend the toe of the characteristic curve; shadows record less density than the meter predicts. Extend exposure per the stock's reciprocity chart. Zone System practice at long exposures means knowing the film's curve, not just its box speed.
- Filter factors — colored filters (deep red for B&W skies, green for foliage) shift zone placements relative to the unfiltered scene. A 2-stop filter factor means shadow placed on Zone III via meter becomes Zone I through the filter unless you compensate.
The Zone System isn't in conflict with any of these — it's the framework that makes them mutually comprehensible.
Pinhole photographers without an in-camera meter use Zone System placement off a handheld meter reading; see Pinhole Photography.