Pinhole photography is the simplest possible photographic instrument: a light-tight box with a tiny hole at one end and film or photographic paper at the other. The hole acts as the aperture; there is no lens. The image that lands on the film is soft but distinctive — uniform softness across the entire frame, no chromatic aberration, no off-axis distortion, infinite depth of field, and a quietly luminous tonal character that no refractive lens quite matches.
A short history
The camera obscura predates the photographic process by centuries. Ibn al-Haytham described the principle in the 11th century. Leonardo da Vinci drew working camera obscuras in the 15th. Renaissance artists used room-sized camera obscuras as drawing aids

. When silver-halide light-sensitive material became practical in the 1830s, putting a sheet of it at the back of a camera obscura is what produced the first photographs. Pinhole photography is, in a real sense, the original photographic process — predating refractive-lens cameras by historical accident rather than by design.[2]
The technique never disappeared. It moved to the margin during the 20th century, returned strongly during the alternative-process revival of the 1970s, and now occupies a stable niche between historical-process work and modern landscape practice. Eric Renner's Pinhole Photography (Focal Press, 4th ed. 2009) is the practitioner-facing reference for almost all of what follows.
How a pinhole forms an image
There is no lens equation here, no refraction, no focal plane in the optical sense. Each point in the scene illuminates a small disc on the film through the hole

; the disc's diameter is approximately the diameter of the hole. The collection of all those discs, contributed by every point in the scene, is the image. Geometrically, the projection is a one-to-one mapping from the scene through the aperture onto the film — a straight-line ray trace.
This is why pinhole imagery has infinite depth of field: there is no plane of sharpest focus that other distances fall away from. There is just one quality of softness — set by the hole diameter and the pinhole-to-film distance — that applies uniformly across the whole image. Front-to-back sharpness is the same whether the subject is a centimeter from the camera or at infinity.
It is also why pinhole imagery has no chromatic aberration in the classical sense. There are no glass elements bending different wavelengths by different amounts; all colors travel through the same hole on straight lines.
The optimal-diameter formula
The smallest hole does not produce the sharpest image. Diffraction sets a lower bound: as the hole shrinks, the wave nature of light spreads each point's projection into an Airy-disk pattern whose size grows as the hole shrinks. Geometric blur favors a smaller hole; diffraction blur favors a larger one. The optimum is where the two contributions are roughly equal in magnitude.
The closed-form result is:
d = 1.9 · √(λ · f)
with d the pinhole diameter, λ the wavelength of light (≈ 0.00055 mm for green light), and f the pinhole-to-film distance (also called the pinhole's "focal length"). For panchromatic black-and-white work the green-light value of λ is conventional. The constant 1.9 traces back to Matt Young's 1971 Applied Optics paper, and it is the form Renner uses in the practitioner literature.[2]
Practitioners often carry a simpler short-form in their heads: d ≈ √(0.0022 · f) millimeters, which folds the constants together. A 90 mm focal distance gives d ≈ √(0.198) ≈ 0.45 mm. A 150 mm focal distance gives d ≈ √(0.33) ≈ 0.57 mm.
Worked LF reference table
For typical large-format focal distances at green-light optimum:
| Focal distance (mm) | Optimal d (mm) | Resulting f-number |
|---|---|---|
| 75 | 0.39 | f/192 |
| 90 | 0.42 | f/213 |
| 120 | 0.49 | f/247 |
| 150 | 0.55 | f/275 |
| 210 | 0.65 | f/325 |
| 240 | 0.69 | f/348 |
| 300 | 0.77 | f/389 |
Cross-check these against the Mr Pinhole Calculator, the long-running practitioner-facing web tool, before drilling. It uses the same constants and should agree to within rounding.
A word on the constants debate
Three derivations of the constant K in d = K · √(λ · f) appear in the literature: Lord Rayleigh (1891) at K ≈ 2, Petzval at K ≈ 1.56, and Young (1971) at K ≈ 1.9. The differences come from how each author sums the geometric and diffraction blur contributions (linear sum, RMS sum, peak-resolution criterion). For practical purposes, the spread between K = 1.56 and K = 2 is small enough that it sits below typical hole-drilling tolerance — a hand-drilled pinhole rarely lands closer than ±5% to its nominal diameter. K = 1.9 is the working convention.
Effective f-number and exposure
The effective f-number of a pinhole follows the same formula as a refractive lens:
N = f / d
For optimal-diameter pinholes, this puts you in the f/100 to f/400 range, climbing slowly with focal distance. A 22 mm body-cap pinhole runs about f/106. A 90 mm large-format pinhole runs about f/213. A 300 mm pinhole runs about f/389.
Three rules of thumb cover most practical exposure work:
- Pinhole f-numbers are roughly f/200 for typical 75-150 mm focal lengths. Memorize this as the starting point and adjust for actual focal distance.
- Sunny-16 plus 8 stops equals pinhole sunny exposure. Eight stops is 256×, which converts f/16 at 1/400 s (Sunny-16 for ISO 400) into f/256 at roughly 0.6 seconds. See sunny-16-rule for the meter-less starting point.
- Reciprocity correction is one stop at about 10 seconds, two stops at about a minute, three stops at about five minutes — varies sharply by film stock; consult reciprocity-failure-compensation for stock-specific tables.
Worked example
HP5+ in sunny-16 conditions through a 120 mm pinhole. Sunny-16 baseline at ISO 400: f/16 at 1/400 s. The 120 mm optimal pinhole is d ≈ 0.49 mm at f/247, which is about 8 stops slower than f/16 (16 → 22 → 32 → 45 → 64 → 90 → 128 → 180 → 256, near enough). Eight stops is 256×, so 1/400 s × 256 ≈ 0.64 s. Add roughly half a stop of reciprocity correction at this exposure for HP5+, and you land at about 1 second. Done.
For close-up work — subject distance comparable to the pinhole-to-film distance — add the bellows extension factor: N_effective = N_infinity × (image distance / focal length)². A view camera shooter handles this in the same workflow as any other large-format exposure calculation.
Zone System placement for pinhole work
Without a meter built into the camera, pinhole shooters lean on a handheld incident or reflected-light meter and Zone System placement to keep tonal control: Zone V for the average tone, Zone III for shadows where you want to retain texture, Zone VII for highlights where you want to retain texture.[1] The pinhole's effective f-number is just one more correction in the calculation chain — read the meter, place the tones, apply the f-number conversion, add reciprocity correction, expose.
The flat depth-of-field characteristic of pinhole imaging means depth-of-field placement is a non-issue. Everything in the frame is in roughly equal focus (or roughly equal softness, depending on perspective). The Zone System effort is concentrated entirely on tonal placement, which is where most of the interesting decisions live anyway. See zone-system-exposure for the full framework.
Equipment options
Pinhole equipment falls into three categories.
Self-made / DIY
The cheapest entry: a body cap with a hole drilled through, with a brass shim or aluminum-can shim taped over the back of the cap providing the actual aperture. The body-cap hole just needs to be large enough not to vignette the smaller shim aperture; the shim is what does the imaging.
Renner recommends 0.005-inch (0.13 mm) brass shim drilled with a sewing needle and then sanded smooth on both sides.[2] Sand the burr off the back so you have a clean circular aperture rather than a ragged tear. Measure the actual diameter with a loupe against a millimeter scale, or photograph the hole against a backlit ruler and measure on the print — a sewing-needle hole is rarely closer than ±10% to the size you intended.
A self-built body camera is even more rewarding to use. Shoeboxes, oatmeal cans, cigar boxes, and steel paint cans
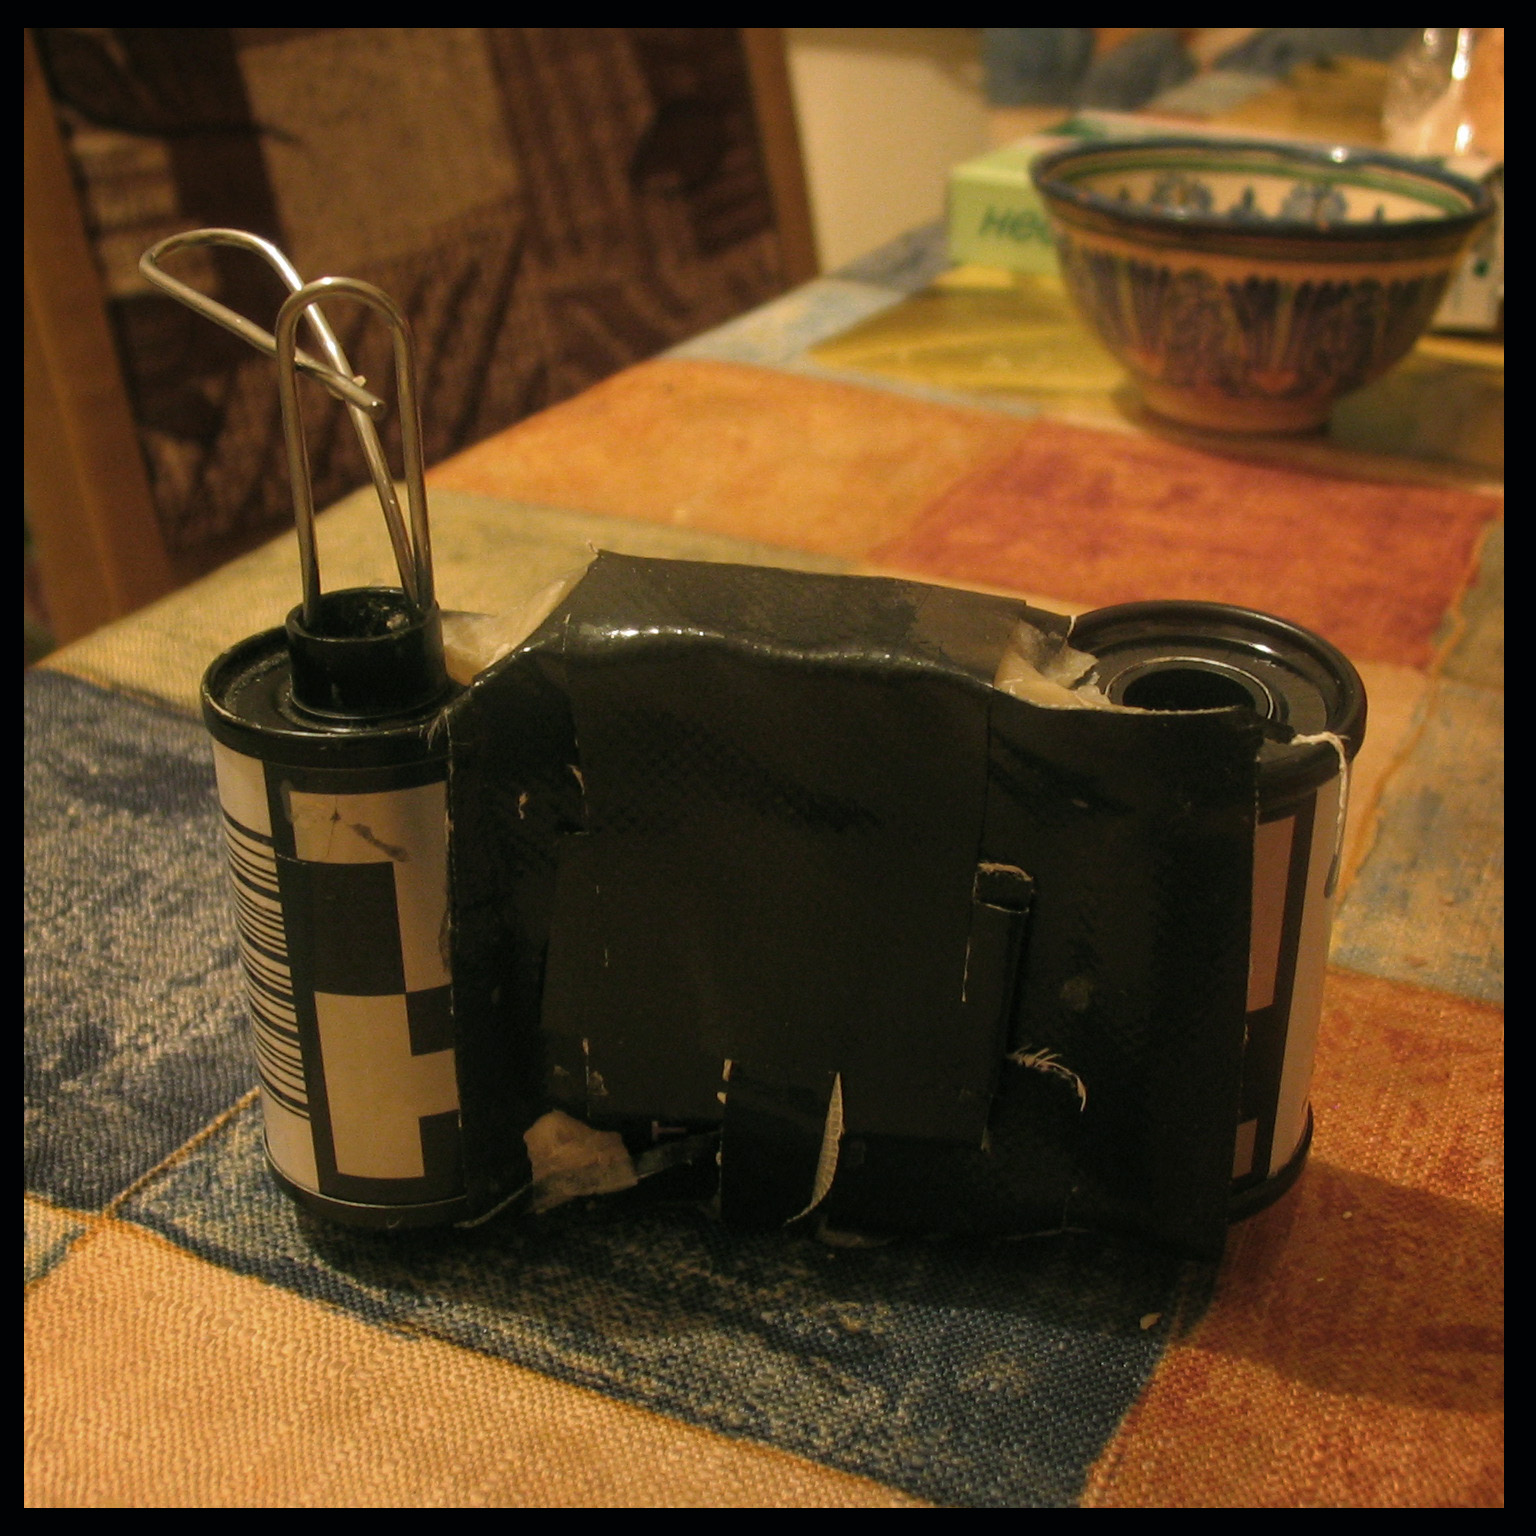
(with their lids well-sealed) all work as paper-negative shoebox cameras with a 1-foot or 18-inch focal distance. The brass shim aperture mounts in a hole cut in one face; photographic paper goes against the opposite face; the shutter is just a piece of black tape you peel back during the exposure. See also generic-pinhole for the shared body-cap pinhole entry.
Body-cap and mountable products
For shooters who would rather buy than build:
- The Wanderlust Pinwide is a fixed-aperture body-cap pinhole available for most major mounts (EF, F, K, E, etc.). Optimal hole size for body-cap focal distance, plastic body-cap form factor, less than the cost of a movie ticket.
- The Finney turret is a multi-aperture turret with both pinhole and zone-plate discs included, mounted in a Copal-0 lens board for view-camera use. Switch between aperture sizes, switch between pinhole and zone-plate imaging, all on the same lens board.
- A handful of smaller artisans make Leica-mount, Hasselblad-mount, and other specialty pinhole body caps. Search the alternative-process forums for current makers.
Integrated-pinhole cameras
Purpose-built pinhole cameras with no separate lens to mount. The body and the pinhole are one integrated unit, and the focal distance, hole diameter, and format are all matched.
- Reality So Subtle (realitysosubtle.com) — French maker of laser-cut zinc-aperture cameras with engineered f-numbers; lineup includes 6×6, 6×9, 6×12, 6×17, and 4×5 formats. Probably the most precise integrated-pinhole instruments currently in production.
- Zero Image (zeroimage.com) — Hong Kong maker; wood and brass construction; multiple medium-format and 4×5 formats; long-running and well-regarded.
- Ondu (ondu.si) — Slovenian maker; wood and brass; multiple formats from 35mm panoramic to 8×10.
- Holga 120 WPC — affordable plastic-body wide pinhole camera, 6×12 panoramic format on 120 film. Rough but cheerful.
Format-specific notes
35 mm body-cap pinhole. Focal distance roughly 22 mm (the lens-flange-to-film distance of most 35mm SLR mounts). Optimal d ≈ 0.21 mm; f/106. The angle of view is wide — about 35mm-equivalent on a full-frame body — and 60-90° angle of coverage is typical. Cosine-fourth vignetting is prominent at the edges, which is part of the 35mm pinhole look.
Medium format (6×6, 6×9). Typical pinhole-to-film distances 50-120 mm; optimal d 0.32-0.49 mm; f/156-f/245. Square 6×6 framing or rectangular 6×9 framing, comfortable wide-to-normal angle of view. The wider negative absorbs a more generous portion of pinhole vignetting at the corners.
Large format (4×5, 5×7, 8×10). Focal distances 75-300 mm; optimal d 0.39-0.77 mm; f/192-f/389. The Finney turret on a Copal-0 lens board is the standard LF pinhole rig; mounted in the lens board it accepts interchangeable pinhole and zone-plate discs and behaves like any other LF lens for movements and bellows-extension calculations.
Filters and pinhole
Filters compound the already-long exposure. The standard B&W filter factors apply: a yellow filter costs roughly 1 stop, an orange filter 2 stops, a red filter 3 stops, a green filter 1 stop. (See color-filter-effects-on-bw-film for the full table and the per-filter tonal effect on B&W film.)
A 1-stop yellow filter on a pinhole that was already a 4-second exposure becomes 8 seconds, which is still tractable. A 3-stop red filter on the same pinhole becomes 32 seconds, well into the reciprocity-failure regime, and the actual exposure once you correct will be closer to 90 seconds. Pinhole-plus-filter routinely moves exposures from "seconds" into "minutes." Plan for it.
Reciprocity failure dominates
Most pinhole exposures fall in the 1-second-and-longer range, which is the reciprocity-affected regime for almost every modern film stock.[2] A correctly metered 4-second exposure on Ilford HP5+ wants closer to 7 seconds of actual shutter-open time; a 30-second metered exposure wants closer to 60 seconds; a 5-minute metered exposure can want 30 minutes or more. The correction grows non-linearly with exposure length and varies sharply between stocks.
Stock-specific reciprocity tables are essential reading for the pinhole shooter. Ilford publishes per-stock tables for HP5+, Delta 100, Delta 400, FP4+, and Pan F+; Kodak publishes for Tri-X 400, T-Max 100, T-Max 400; Fujifilm for Acros II (which has remarkable near-reciprocity-free behavior up to 2 minutes, the friendliest film for long-exposure pinhole work). Consult reciprocity-failure-compensation for the cross-stock comparison and the practical correction workflow.
The pinhole look — what is distinctive
The pinhole image has a recognizable character that nothing else quite reproduces

:
- Soft, uniform sharpness across the frame. The optimal hole gives roughly f/40-equivalent best-case resolution — a reference point that does not change from the center of the image to the corners. There is no sharp center and soft edge as on a refractive lens.
- Infinite depth of field. No focus drop from foreground to background.
- No chromatic aberration. All wavelengths travel the same straight-line path through the hole.
- No off-axis distortion. No barrel distortion, no pincushion, no field curvature, no coma — none of the classical refractive-lens defects.
- Cosine-fourth vignetting. Light falling on off-axis film locations crosses the hole at an angle, traverses a slightly longer path, and lands at a slightly larger angle of incidence. The combined effect is the cos⁴ falloff, which can be 1-2 stops at the corners of a wide-angle pinhole.
The look is unmistakable. It is not "soft like a soft-focus lens" — soft-focus lenses superimpose a sharp image with a halation glow, producing an image that has both crisp detail and luminous bloom. Pinhole softness is uniform: the same gentle softness everywhere, with no underlying sharp structure. It is its own quality.
Light leaks and practical issues
Pinhole-camera light-tightness matters more than for refractive cameras because exposures are long. A 1/250-second leak that would never appear on a refractive-lens frame becomes a visible streak on a 4-minute pinhole exposure. Black tape, felt baffles, double-flap card holders for film changing, and dark-cloth shields against direct sun are routine accessories. Test the camera in bright sunlight with no film loaded by exposing a sheet of unexposed paper for the same duration and developing — if the paper darkens, find the leak before committing real film.
Lens-cap shutters (a piece of black card or an opaque cap held over the hole) are simpler and quieter than mechanical shutters, and at multi-second exposures the start-and-end vibration of removing the cap is invisible in the integrated exposure.
What pinhole cannot do
Honest boundaries on the operating envelope:
- Cannot reach high resolution. Pinhole is fundamentally diffraction-limited at roughly f/40-equivalent resolution. The optimal-diameter formula is a ceiling, not a floor.
- Cannot stop motion. Exposures are seconds-to-minutes long; moving subjects either disappear (if they pass through the frame faster than the integrated exposure registers them) or ghost (if they linger).
- Cannot match commercial lens speed. A pinhole at f/200 collects roughly 256× less light than a 50 mm f/1.4 lens at the same scene. Indoor and dim-light pinhole work tolerates exposures of many minutes.
- Cannot frame precisely. No through-the-lens viewing on most pinhole cameras; you frame approximately, accept the result, and learn the framing of your specific camera through repetition.
These are not flaws — they are the operating envelope. Pinhole work that fights these constraints is fighting itself. Pinhole work that accepts and embraces them produces images that no other photographic instrument quite makes.
Related techniques
- Zone Plate Photography — the diffractive-imaging cousin of pinhole; same f-number range, different image character.
- Zone System Exposure — the framework for handling exposure without an in-camera meter.
- Sunny 16 Rule — the meter-less starting point most pinhole shooters use as a baseline before applying the pinhole f-number conversion.
- Reciprocity Failure Compensation — required reading at typical pinhole shutter speeds.
- Color Filter Effects on B&W Film — for tonal control under daylight when the exposure budget allows the filter factor.
External references:
- Mr Pinhole Calculator — long-running practitioner-standard online calculator that implements the optimal-diameter formula.
- Eric Renner's Pinhole Photography: From Historic Technique to Digital Application (Focal Press, 4th ed. 2009) — the practitioner-facing book that grounds most of the equipment, technique, and historical material above.